Aim : To Make a Photoshop CS user bar...
1) Make a new document with sizes [width:350 x height:19 ] and having a transparent background.

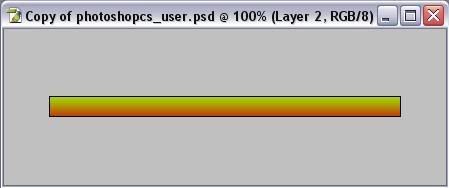
2) Make a suitable gradient and apply it.
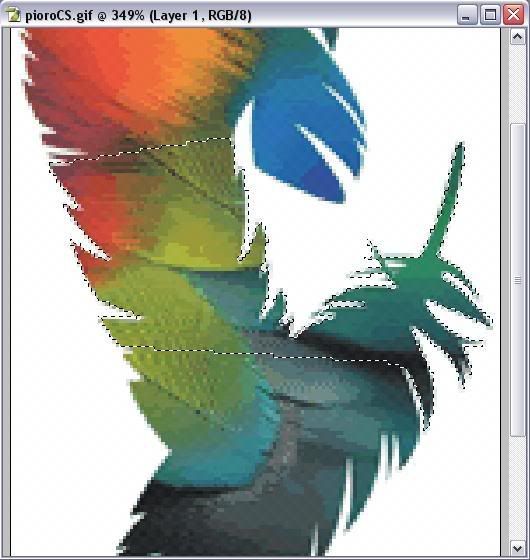
3) Now get a logo, search in Google Images, find your logo and open it up in Photoshop.
4) Now it's time to remove your logo from the background, get the polygonal lasso tool and carefully cut it out.
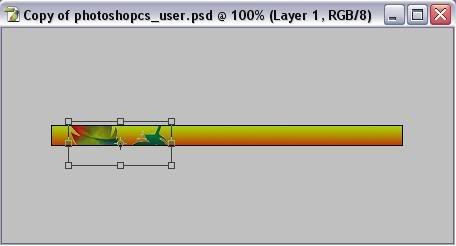
5) Now go to Edit > Copy, then open the user bar document (the one where you applied a gradient), then create a new layer
and go to Edit > Paste.
6) Now with this layer selected go to Edit > Transform > Scale and resize your logo or reposition it if you wish.
7) Now right click on the layer and select Blending Options and give it a little outer glow with these settings:

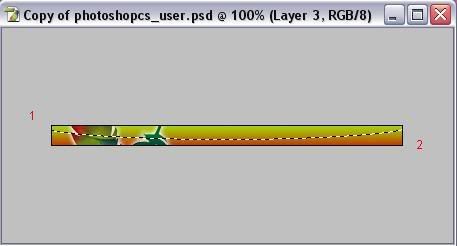
8) Now make a new layer and get the Elliptical Marquee Tool and drag it from about point 1 to point 2.
9) Now get the Gradient Tool and use these settings:
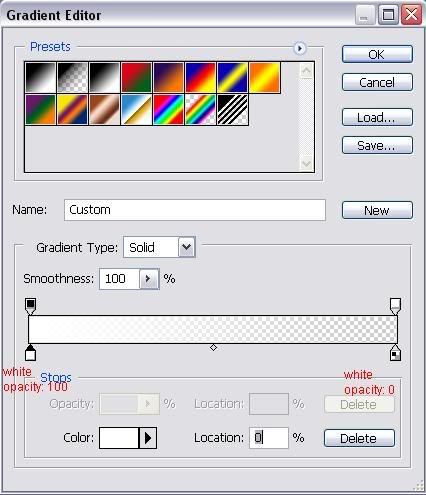
and now drag it vertical from point 1 to point 2:

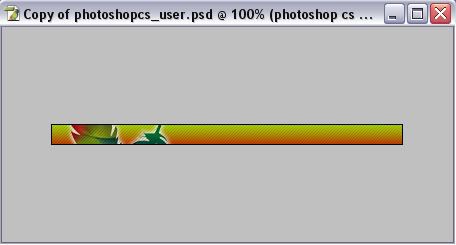
10) And now you have a nice light effect, create a new layer and fill it with a 45 degree scanline with opacity from 10% - 15%
if you don't have a 45 degree scanline make a new document with dimensions 3x3 with a transparent background and do a
maximum zoom,now get the pen tool (make shure your color is set to black) and draw what is done in this picture:
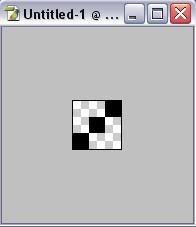
When you are done go to Edit > Define Pattern and name it what you want and click ok.
Now you can close this document because the pattern is permanently saved in Photoshop.
Here is what you should have so far:
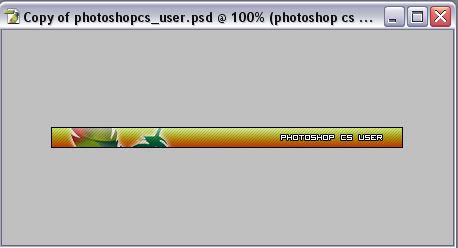
11) Now it's time to put some text, We will use font Visitor which you can get below in the attached files
type your text then right click on your layer and go to Blending Options and use these settings:

Here is what we have so far:
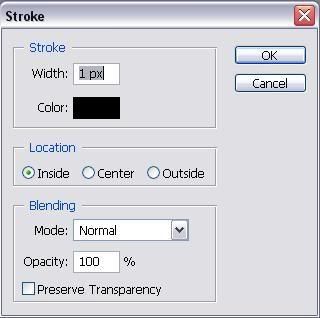
12) Now for the final step is to add a border, create a new layer and hold CTRL and click on the bottom layer. You should have the "running ants" around your document, now go to Edit > stroke and use these settings then click OK:
And now you are done!
Here is the final result:

Also check my current sig:

Here are some more user bars (apart from the ones in my sig)...


Hope you enjoyed the tutorial...
0 comments:
Post a Comment